- Published on
Setting up Hexo on Windows
Follow these instructions to install and configure the Hexo blog framework on Windows.
Requirements
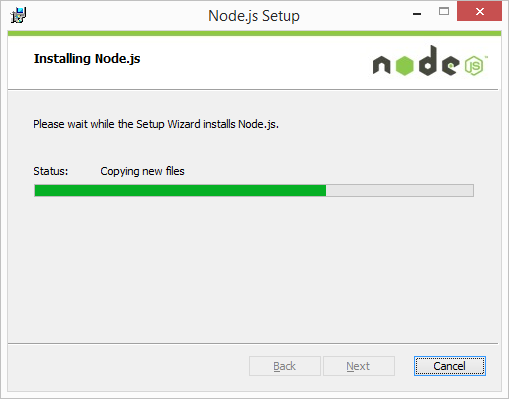
1. Install Node.js
Install Node.js
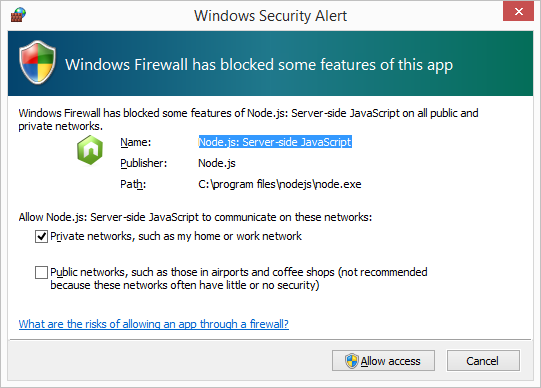
Make sure to allow Node.js Windows Firewall access.
Verify the installation by running the following commands inside the Git Bash:
node -v
npm -v
2a. Re-install hexo
For those re-installing Hexo from an existing hexo blog repository:
- Do NOT create the directory described step 1 but checkout your blog repo instead
- Cd into your repo directory and git checkout the
sourcebranch - Continue with step 2 below but SKIP the
hexo initcommand
2b. Install Fresh Hexo
Please note that all commands are to be executed within the Git Bash.
Create a new directory that will hold your blog
mkdir myblog
cd myblog
Install the hexo framework and the git deployer
npm install hexo-cli -g
npm install hexo-deployer-git --save
hexo -v
Initialize your blog
hexo init
npm install
hexo serve
Now browse to
http://localhost:4000and enjoy your first blogYou're good to go, next steps would be:
- Customizing
_config.ymlto your likings - Creating your first post by running
hexo new
- Customizing
3. Deploy
The hexo git deployer has taken all the hard work out of deploying your blog to your master repo.
First load your Github private key inside the Git Bash
eval `ssh-agent`
ssh-add ~/.ssh/github_rsa_key
Now simply generate and deploy your blog
hexo generate -d
4. Save Local Changes
Do not forget to save your local changes by commit pushing them to the source branch of your central repository.